> ## Documentation Index
> Fetch the complete documentation index at: https://bruno-a6972042-mintlify-c74cb75a.mintlify.site/llms.txt
> Use this file to discover all available pages before exploring further.
# WebSocket Request Interface
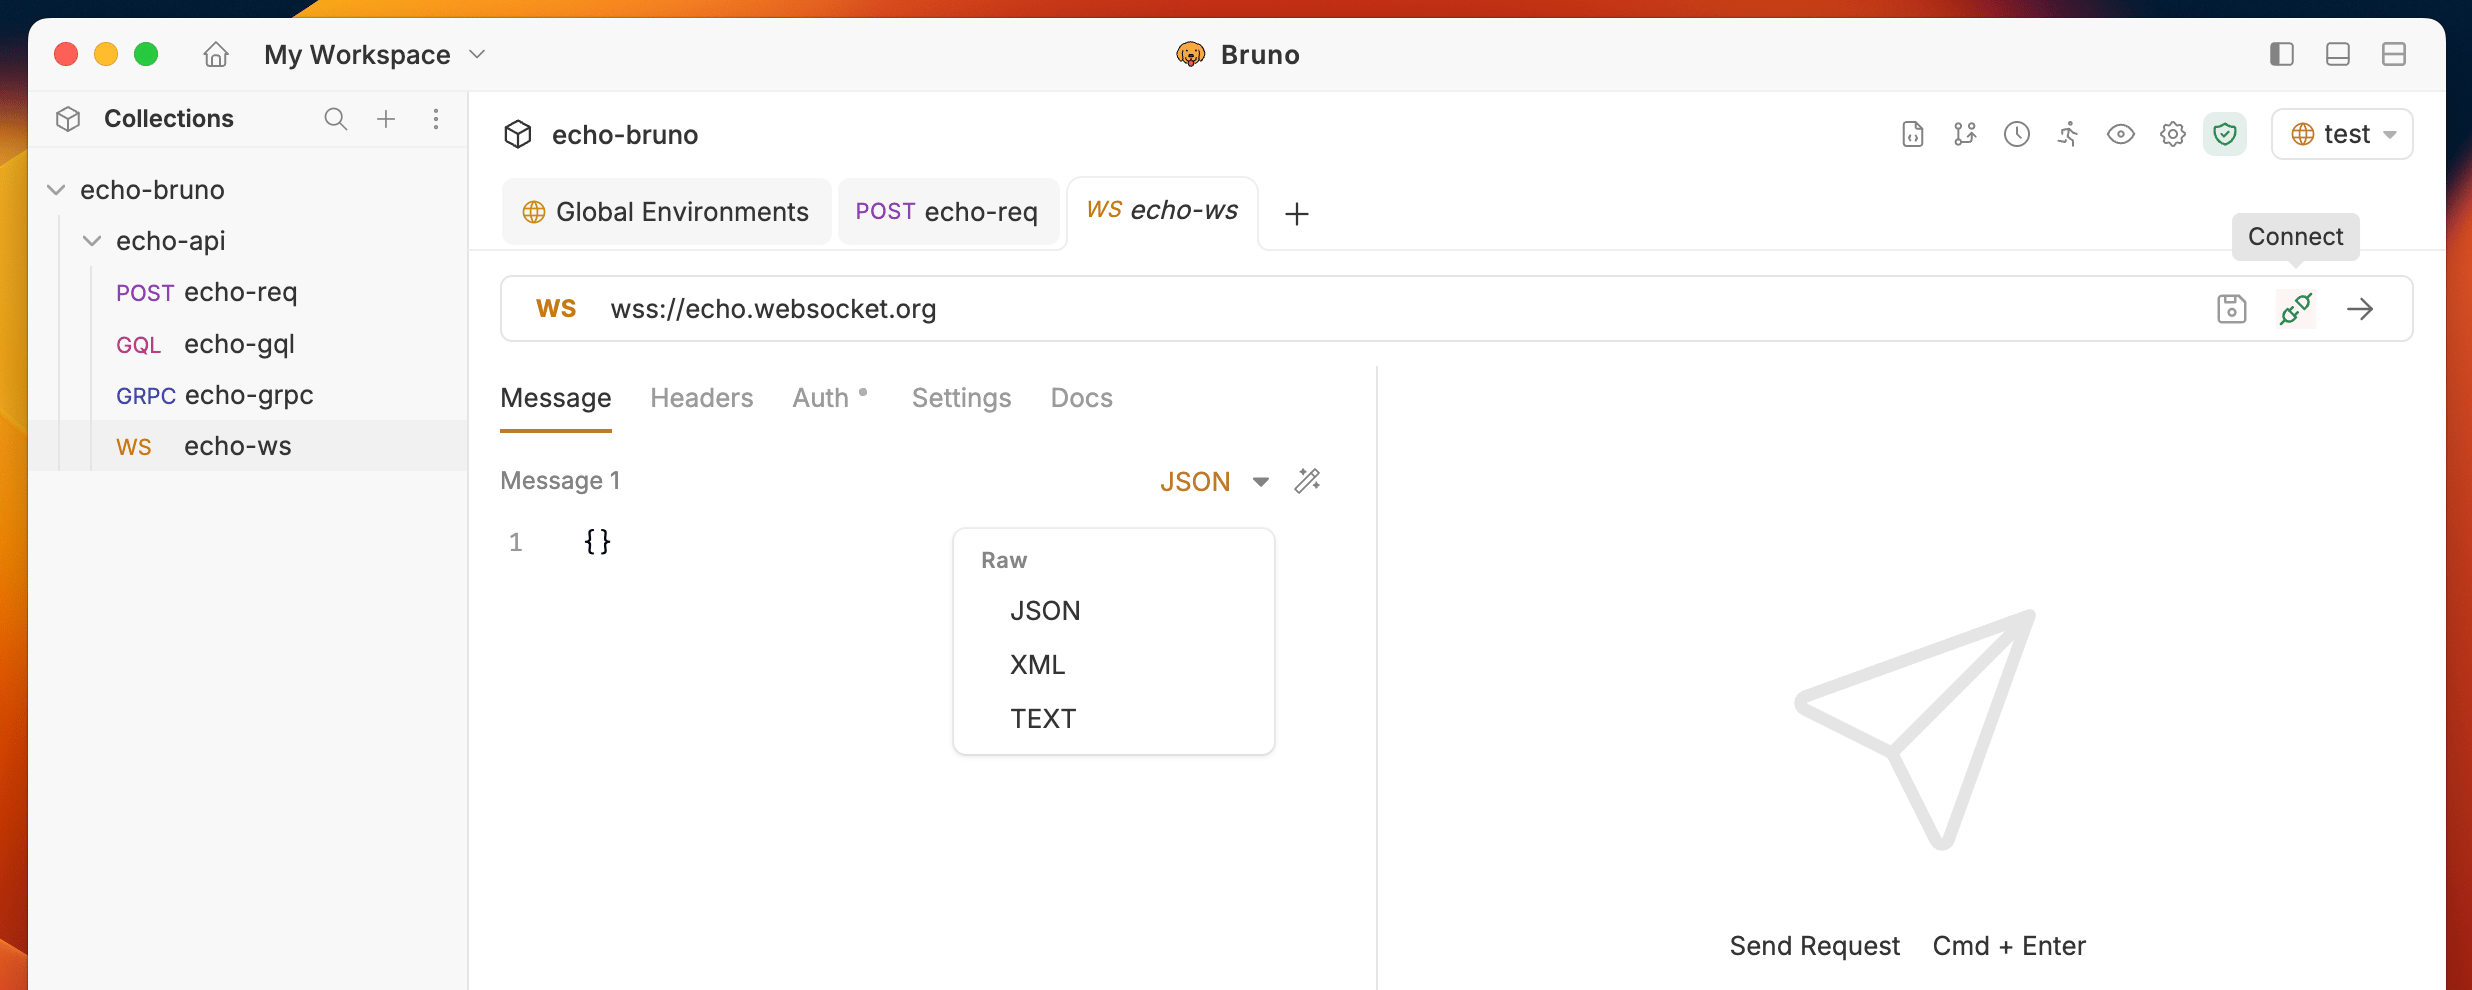
The WebSocket request interface consists of several key components:
 ## Request Interface
### Connection Status
* **Disconnected**: Initial state, ready to connect
* **Connecting**: Establishing connection to server
* **Connected**: Successfully connected and ready to send messages
* **Disconnected**: Connection lost or manually closed
### Message Composition
* **Message Type**: Choose between Text, JSON, XML — set per message
* **Message Editor**: Compose your message with syntax highlighting
* **Send Button**: Send that individual message to the active connection
* **Add Message**: Add additional messages to the same request
* **Rename**: Double-click a message label to rename it
* **Delete**: Remove a message individually (at least one message must remain)
### Message History
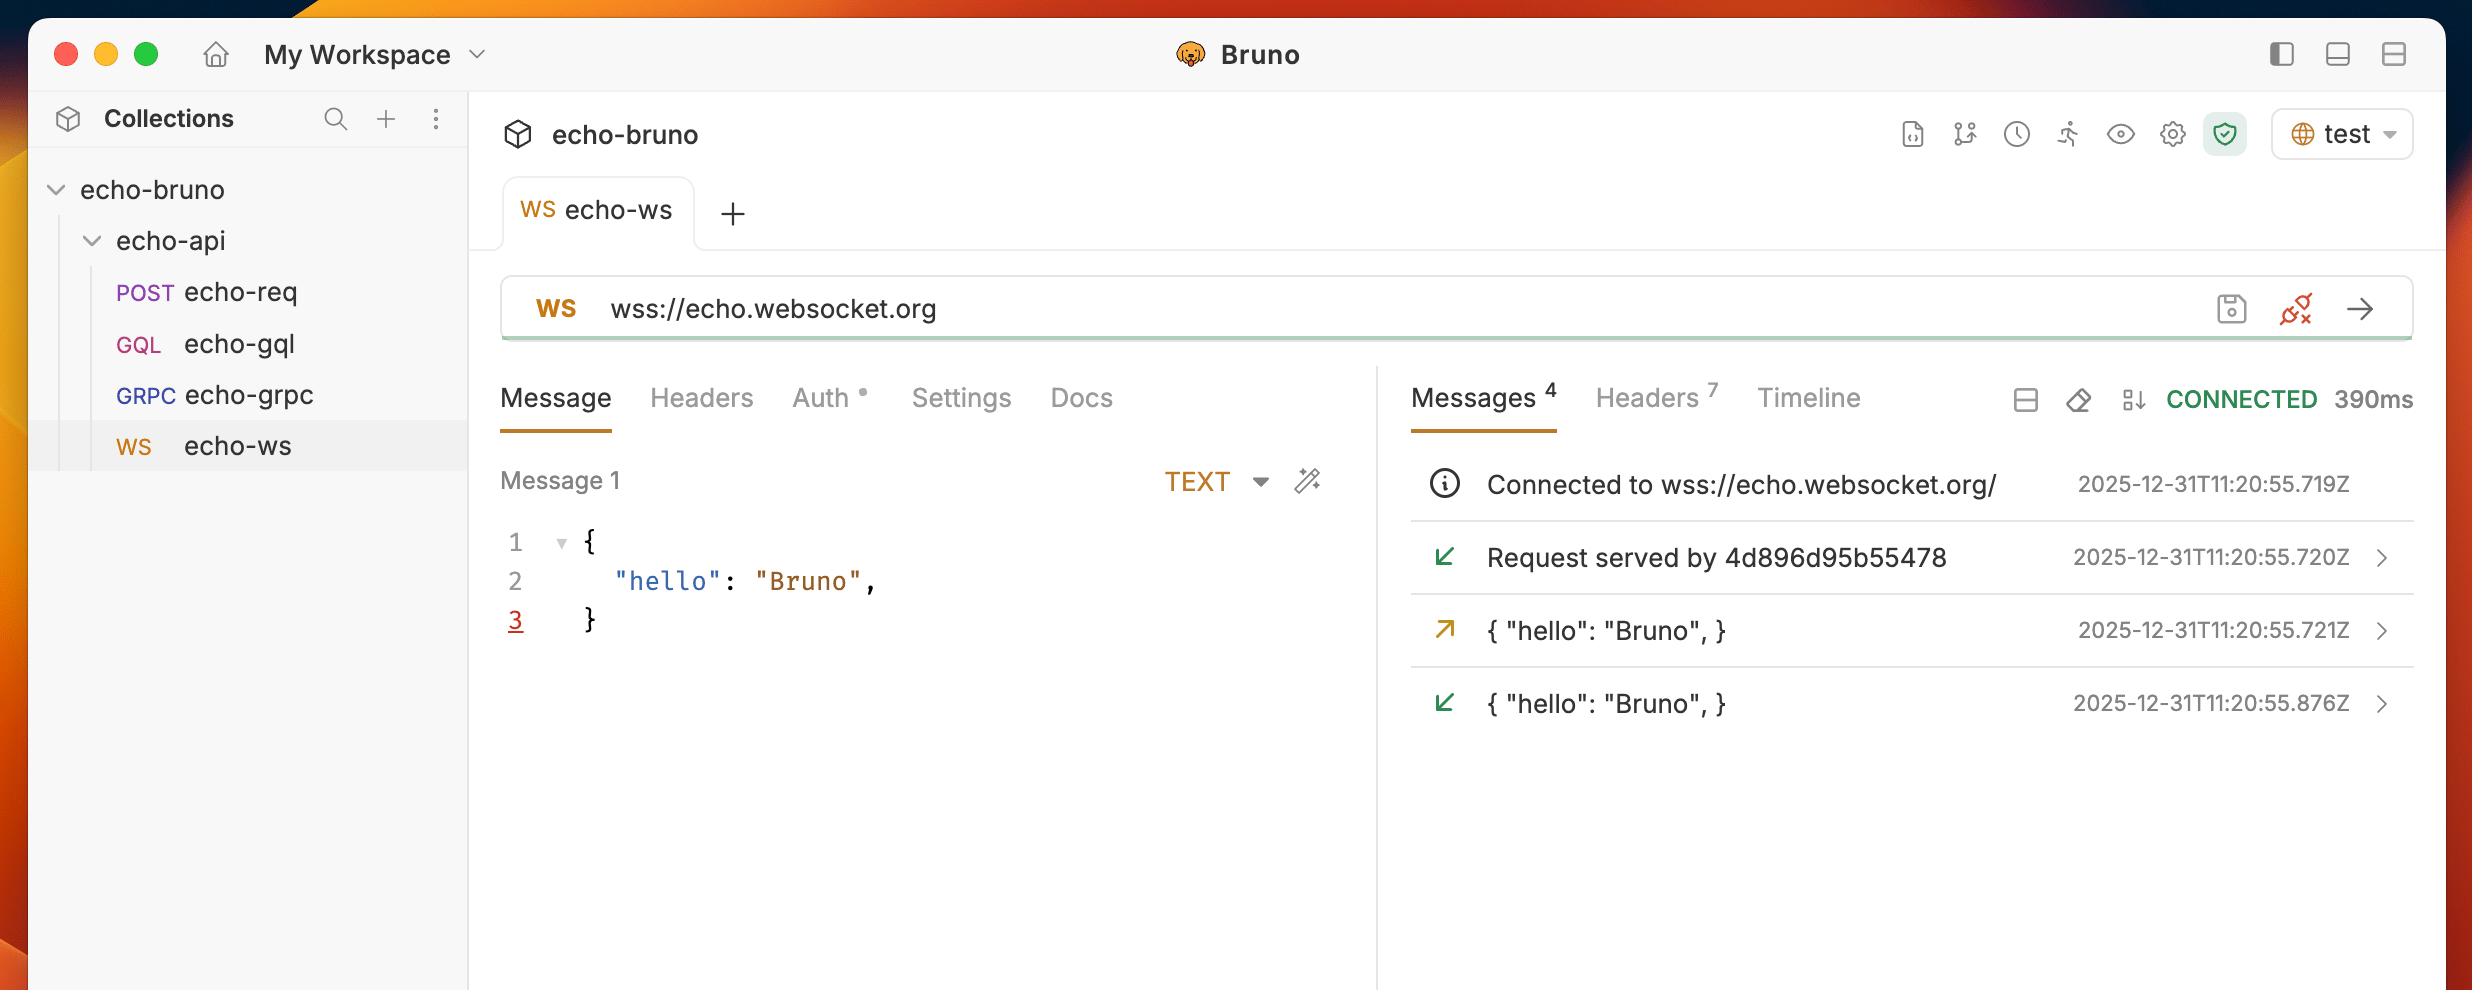
* **Sent Messages**: All messages you've sent (marked with →)
* **Received Messages**: All messages received from server (marked with ←)
* **Timestamps**: When each message was sent/received
* **Message Sorting**: Toggle between newest/oldest first
## Connection Management
### Establishing Connection
1. **Click the "Connect" button** to establish the WebSocket connection
2. **Monitor connection status** in the status indicator
3. **View connection logs** for detailed connection information
### Multiple Messages
Multiple message support is available from v4.0.0 and higher.
Bruno lets you compose and save multiple messages inside a single WebSocket request. This is useful for testing sequences, simulating different payload shapes, or keeping a library of reusable messages alongside one connection.
**Working with multiple messages**
1. Click **Add Message** to add a new message slot. Each message has its own format selector (Text, JSON, XML) and editor.
## Request Interface
### Connection Status
* **Disconnected**: Initial state, ready to connect
* **Connecting**: Establishing connection to server
* **Connected**: Successfully connected and ready to send messages
* **Disconnected**: Connection lost or manually closed
### Message Composition
* **Message Type**: Choose between Text, JSON, XML — set per message
* **Message Editor**: Compose your message with syntax highlighting
* **Send Button**: Send that individual message to the active connection
* **Add Message**: Add additional messages to the same request
* **Rename**: Double-click a message label to rename it
* **Delete**: Remove a message individually (at least one message must remain)
### Message History
* **Sent Messages**: All messages you've sent (marked with →)
* **Received Messages**: All messages received from server (marked with ←)
* **Timestamps**: When each message was sent/received
* **Message Sorting**: Toggle between newest/oldest first
## Connection Management
### Establishing Connection
1. **Click the "Connect" button** to establish the WebSocket connection
2. **Monitor connection status** in the status indicator
3. **View connection logs** for detailed connection information
### Multiple Messages
Multiple message support is available from v4.0.0 and higher.
Bruno lets you compose and save multiple messages inside a single WebSocket request. This is useful for testing sequences, simulating different payload shapes, or keeping a library of reusable messages alongside one connection.
**Working with multiple messages**
1. Click **Add Message** to add a new message slot. Each message has its own format selector (Text, JSON, XML) and editor.
 2. Click the **Send** button on a specific message to send only that message to the active connection.
 3. **Double-click** a message label to rename it.
 4. To remove a message, click the **delete** icon. The last remaining message cannot be deleted.
 **Variable interpolation** works per message, so `{{token}}` and other variables are resolved individually when each message is sent.
### Sending Messages
1. **Compose your message** in the message editor
2. **Select message type** (Text, JSON, XML)
3. **Click Send** button on the message you want to transmit
4. **View sent message** in the message history
**Variable interpolation** works per message, so `{{token}}` and other variables are resolved individually when each message is sent.
### Sending Messages
1. **Compose your message** in the message editor
2. **Select message type** (Text, JSON, XML)
3. **Click Send** button on the message you want to transmit
4. **View sent message** in the message history
 ### Receiving Messages
1. **Monitor the message history** for incoming messages
2. **View message details** including timestamp and content
3. **Use test scripts** to validate received messages
### Closing Connection
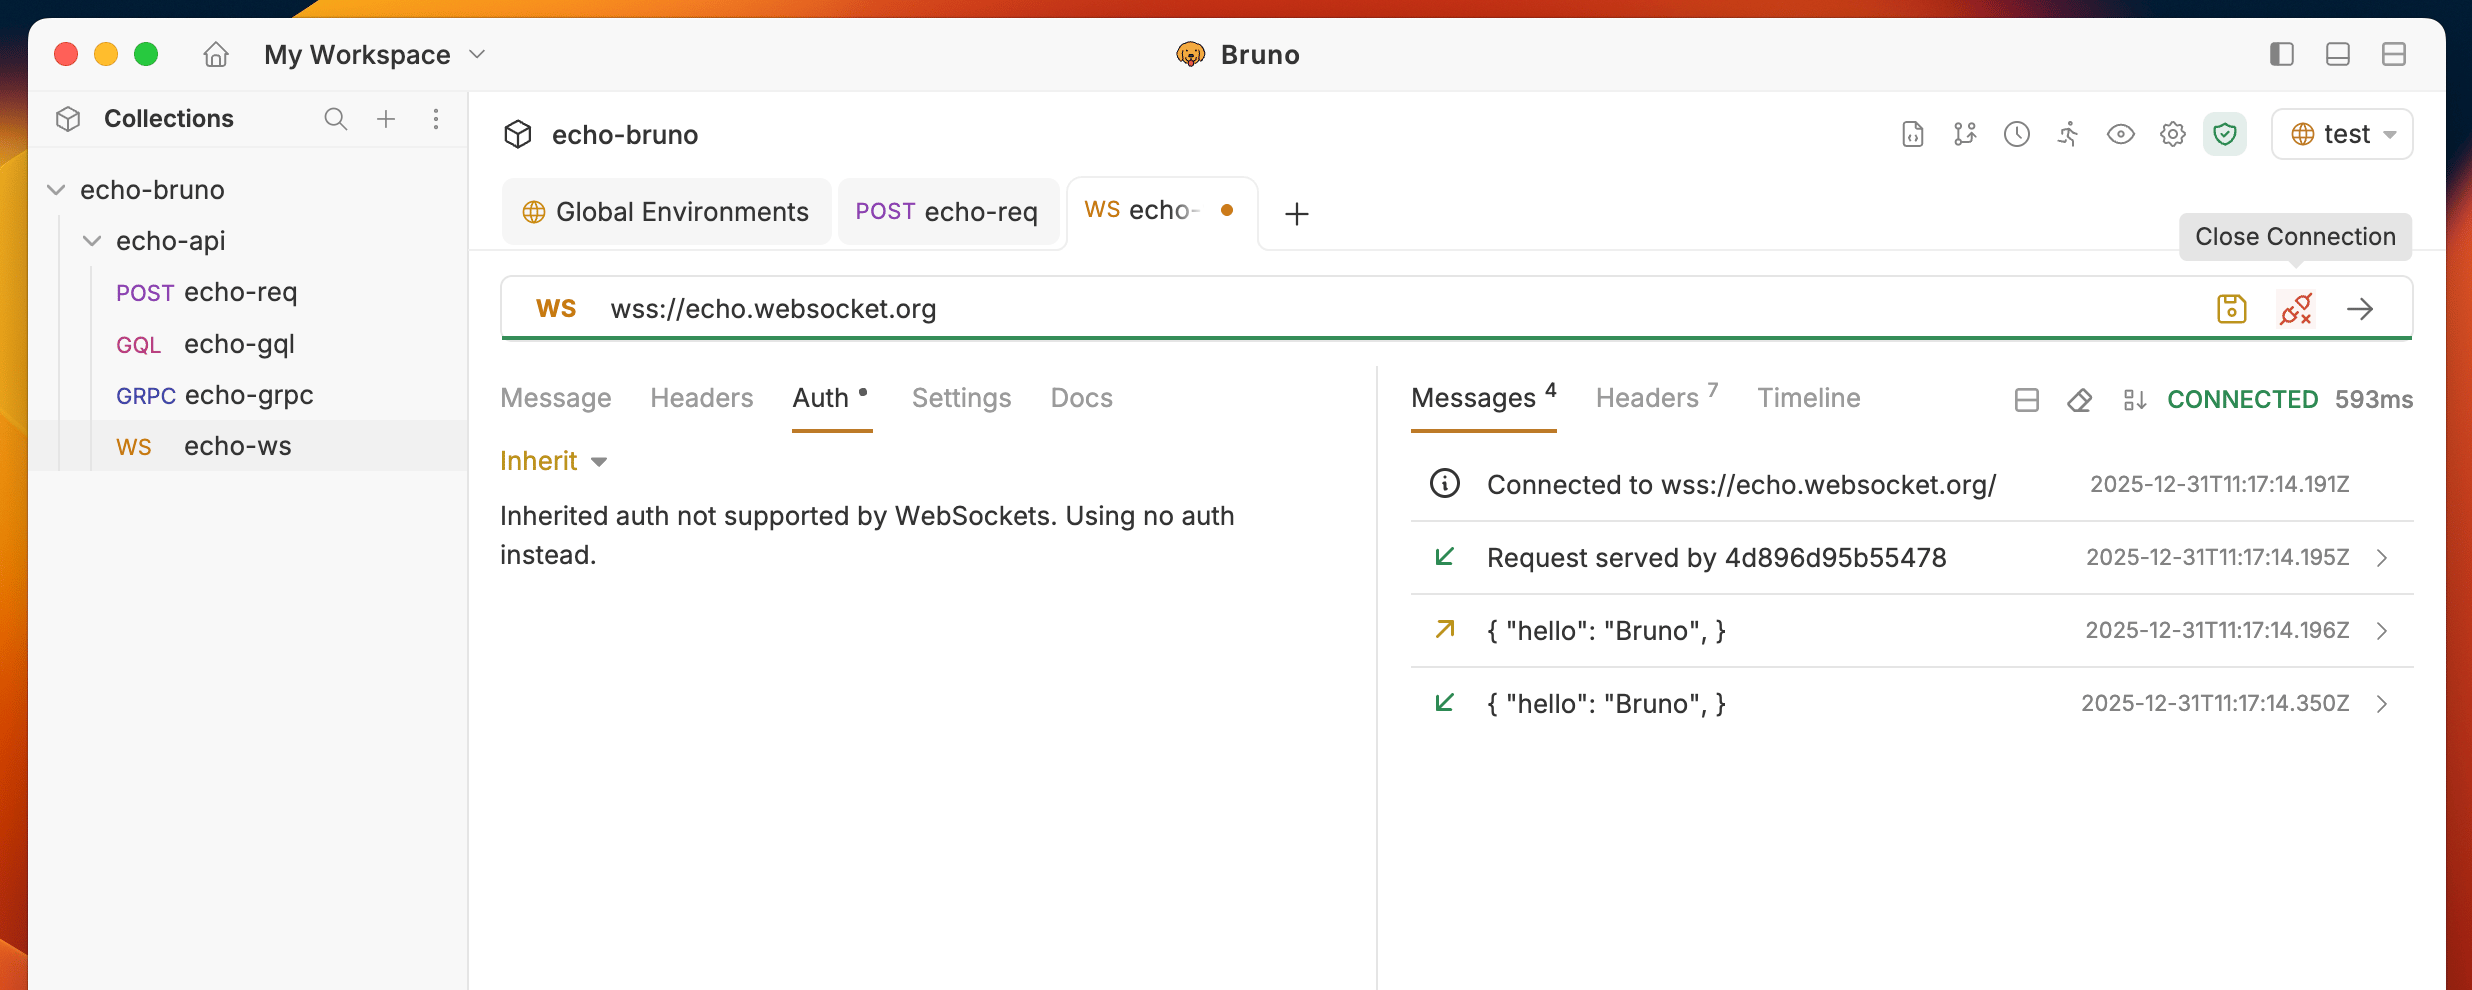
1. **Click "Disconnect"** to close the WebSocket connection
2. **Connection status** will update to "Disconnected"
3. **Message history** is preserved for review
### Receiving Messages
1. **Monitor the message history** for incoming messages
2. **View message details** including timestamp and content
3. **Use test scripts** to validate received messages
### Closing Connection
1. **Click "Disconnect"** to close the WebSocket connection
2. **Connection status** will update to "Disconnected"
3. **Message history** is preserved for review
 ## File Format
Multiple messages are saved directly in your collection files so they are version-controllable and portable.
```bru BRU format (.bru) theme={null}
meta {
name: web-socket
type: ws
seq: 1
}
ws {
url: wss://echo.websocket.org
}
body:ws {
message 1 [json] {
{"name":"Bruno"}
}
message 2 [json] {
{"msg":"The most loving API client by developers"}
}
}
```
```yaml YAML format (.yml) theme={null}
info:
name: web-socket
type: ws
seq: 1
ws:
url: wss://echo.websocket.org
messages:
- name: message 1
type: json
body: |-
{"name":"Bruno"}
- name: message 2
type: json
body: |-
{"msg":"The most loving API client by developers"}
```
## File Format
Multiple messages are saved directly in your collection files so they are version-controllable and portable.
```bru BRU format (.bru) theme={null}
meta {
name: web-socket
type: ws
seq: 1
}
ws {
url: wss://echo.websocket.org
}
body:ws {
message 1 [json] {
{"name":"Bruno"}
}
message 2 [json] {
{"msg":"The most loving API client by developers"}
}
}
```
```yaml YAML format (.yml) theme={null}
info:
name: web-socket
type: ws
seq: 1
ws:
url: wss://echo.websocket.org
messages:
- name: message 1
type: json
body: |-
{"name":"Bruno"}
- name: message 2
type: json
body: |-
{"msg":"The most loving API client by developers"}
```